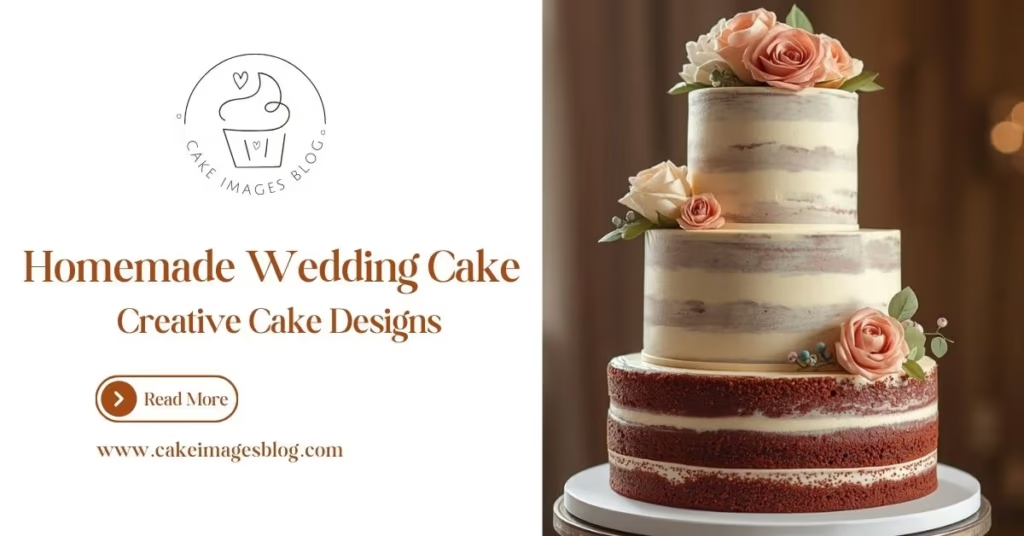
Welcome, cake lovers. Are you dreaming of creating your own wedding cake at home that just looks like, that just feels like one from the bakery? So yes, this blog is just for you.
I am sharing step-by-step instructions, decoration tips, and secrets for a homemade wedding cake. So let’s get started.
Why Make a Homemade Wedding Cake?
A homemade wedding cake is a whole experience. You can get full control over the flavor, sweetness, texture, and design. You can test different recipes and combine multiple tastes across tiers without worrying about extra charges.
So, making your own cake allows you to focus your budget on quality ingredients and details instead of paying bakers.
Personal Touch vs Store-Bought
A store-bought cake may look perfect, but it may feel a little impersonal as you have limited flavor pairings and standard decorations. It’s convenient, but you have to compromise on a few little details.
While a homemade cake tells your story, you can adjust the sweetness to your taste, you can recreate a flavor, or design a cake that matches your theme perfectly.
Cost Comparison
One of the biggest advantages of a homemade wedding cake is the cost. When you choose a bakery for a wedding cake, prices are typically calculated per serving and can include additional charges for design, delivery, and setup.
In contrast, baking at home gives you control over every ingredient cost. You can choose where to source quality butter, flour, chocolate, and flavorings. You only have to pay for what you actually need.
So, homemade baking is not free. You still invest in tools, pans, and time. But when comparing overall expenses, it’s more affordable than purchasing a fully decorated multi-tier cake from a bakery.
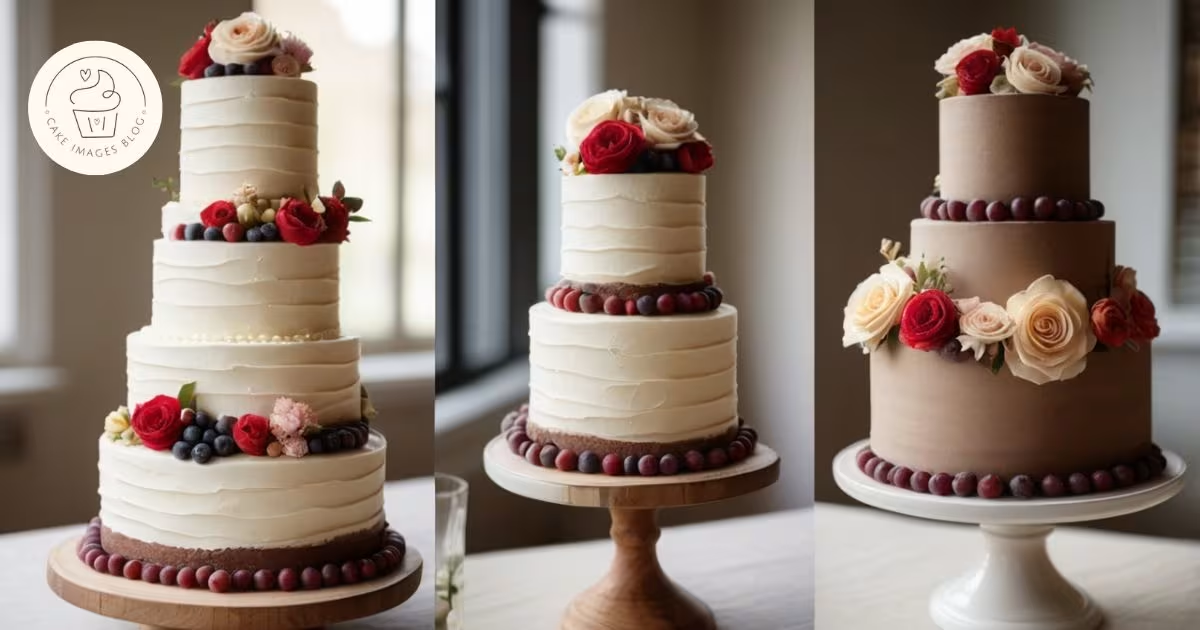
Which base works best for single vs tiered cakes?
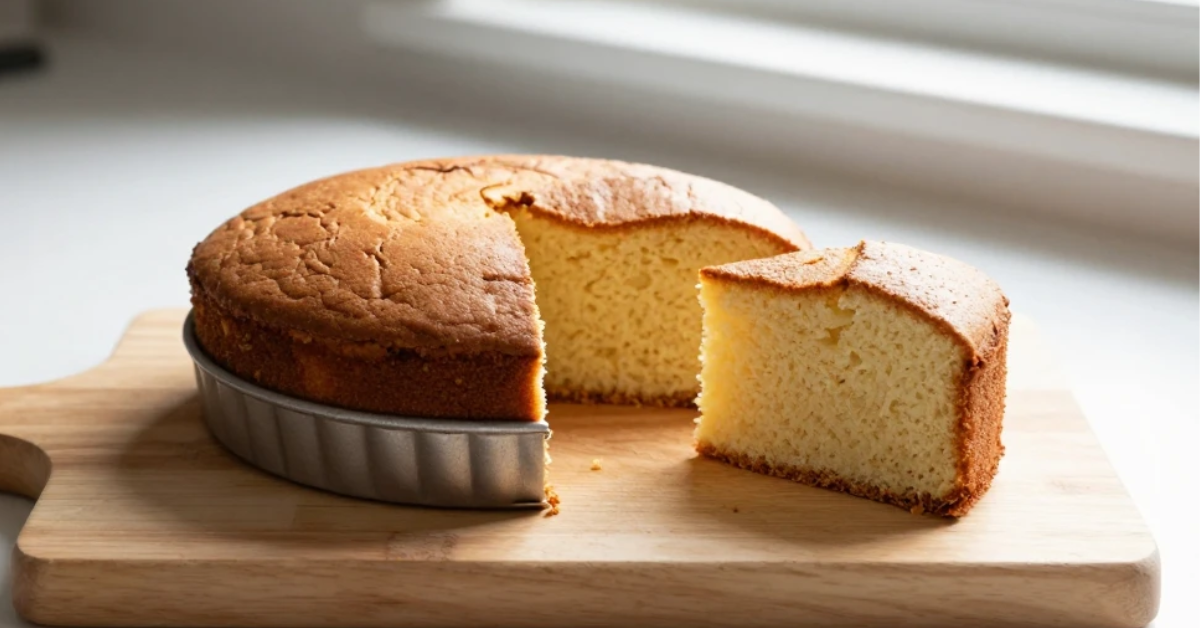
If you are going with a single-tier cake, then a light sponge works beautifully because there is no weight pressing down on them. Sponge base gives a soft, airy texture that’s perfect for small celebrations.
If you are making tiered wedding cakes, then structure becomes critical. Butter cakes and pound cakes are more reliable because they are denser. A butter-based cake holds its shape well, stacks cleanly, and stays stable. So it is ideal for any multi-tier design.
If you want some mixed approaches, then go with denser bases on the bottom tiers and slightly lighter textures on the top. This method also keeps your cake stable while delivering great flavor.
Selecting The Right Cake Frosting & Fillings
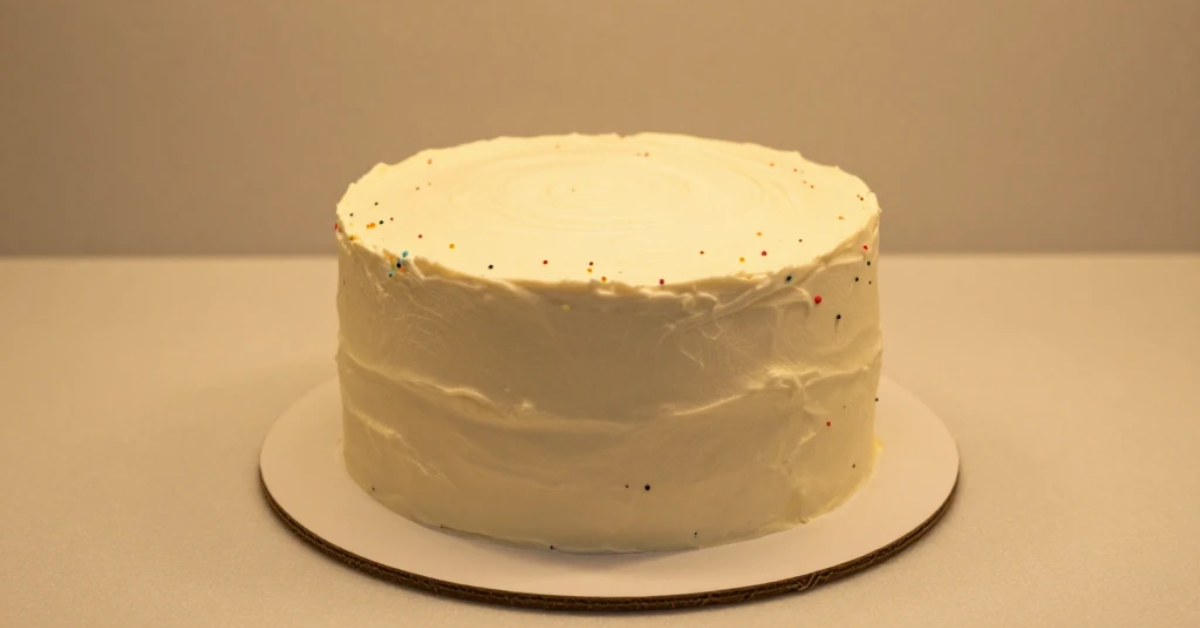
You can take your cake to the next level with the right frostings and fillings. Buttercream is the most popular option because you will get a smooth texture and more detailed designs.
It works well for indoor weddings and pairs beautifully with classic flavors like vanilla and chocolate. If you want wedding cake design ideas, unique flavors, and decoration tips, then check out my wedding cake ideas blog.
Use fillings like light fruit preserves, flavored buttercreams, or cream cheese to add moisture and contrast without making the cake heavy.
For the tired cakes, use softer fillings for upper layers and denser buttercream-based fillings for lower tiers.
Calculating Cake Size and Servings
Wedding cake slices are usually smaller than the other party cakes because they are cut tall and narrow. On average, one wedding-style serving is about one inch wide and two inches deep.
| Cake Size (Round) | Approx. Servings | Best For |
| 6-inch | 10–12 servings | Small or single-tier cakes |
| 8-inch | 20–24 servings | Medium gatherings |
| 10-inch | 30–38 servings | Base tier for stacked cakes |
| 12-inch | 45–56 servings | Larger weddings |
| 3-Tier (6” + 8” + 10”) | 65–75 servings | Classic tiered wedding cake |
Step-by-Step Homemade Wedding Cake Recipe
Ingredients Needed for the Cake
- All-purpose flour
- Granulated sugar
- Unsalted butter (room temperature)
- Eggs (room temperature)
- Whole milk or buttermilk
- Baking powder
- Baking soda
- Salt
- Pure vanilla extract
- Cocoa powder (optional, for chocolate layers)
- Red food coloring (optional, for red velvet variation)
Ingredients Needed for Frosting & Fillings
- Unsalted butter (room temperature)
- Powdered sugar
- Heavy cream or whipping cream
- Cream cheese (for cream cheese filling or frosting)
- Pure vanilla extract
- Dark or semi-sweet chocolate (for ganache or chocolate buttercream)
- Cocoa powder
- Fruit preserves or curds (optional)
- Chopped nuts or flavor pastes like pistachio (optional)
- Salt (a pinch, to balance sweetness)
Tools Needed for the Cake
- Mixing bowls (various sizes)
- Measuring cups and measuring spoons
- Electric mixer or stand mixer
- Rubber spatula
- Whisk
- Cake pans (round, preferred sizes: 6”, 8”, 10”)
- Parchment paper
- Cake turntable
- Offset spatula
- Bench scraper
- Cooling racks
- Cake boards
- Dowels or cake supports (for tiered cakes)
Preparing the Cake Layers
- First of all, preheat your oven to 175°C or 350°F and grease your cake pans. Place the parchment paper at the bottom.
- Take a large bowl and whisk together flour, baking powder, baking soda, and salt, and set aside.
- In a separate bowl, beat unsalted butter until smooth and creamy. Add granulated sugar and continue beating until the mixture looks pale and fluffy.
- Add eggs one at a time, mix well after adding each, then mix in pure vanilla extract for flavor.
- With the mixer on low speed, add the flour mixture in portions alternating with milk or buttermilk. Mix everything until it is combined and avoid overmixing.
- Now divide the batter evenly between the prepared pans.
- Bake until a toothpick from the center comes out clean.
- Remove from the oven and let the cakes cool in the pans for 10 to 15 minutes before transferring them to cooling racks.
- Allow the layers to cool completely before frosting and stacking.
Making Buttercream / Ganache
Buttercream:
- Beat room-temperature butter until creamy.
- Slowly add powdered sugar and mix on low speed.
- Add vanilla extract and a pinch of salt. Then, pour in heavy cream gradually until smooth and spreadable.
Ganache:
- For the ganache, heat heavy cream until just steaming (it should not be boiling).
- Pour over chopped chocolate in a bowl.
- Let it sit for 2 to 3 minutes, then stir gently until glossy.
- Allow ganache to cool slightly before using.
Layering & Stacking
- First of all, level cake layers using a serrated knife if needed.
- Place the first layer on the cake board, spread an even layer of frosting or filling on top, add the next cake layer, and gently press to secure.
- Insert dowels into lower tiers to support upper layers.
- Stack tiers carefully, ensuring they are centered. Chill the cake briefly between steps for stability.
Decorating Tips
- Apply a thin crumb coat on your cake and chill before final frosting.
- Use a bench scraper for smooth sides.
- Keep decorations minimal for a professional finish. Add fresh flowers or fruits only after chilling the cake.
- Avoid overloading the cake with heavy toppers.
- Step back and check the balance as you decorate.
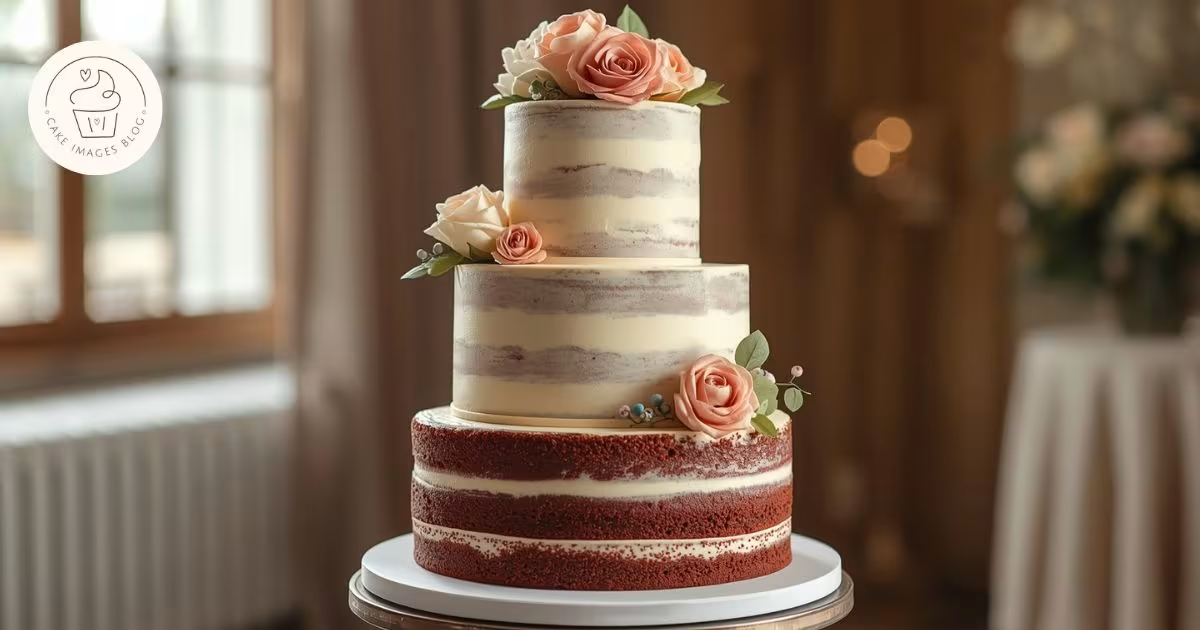
How to Combine Flavors in a 2–3 Tier Homemade Wedding Cake
Choose one familiar flavor that your guests will enjoy, such as vanilla or chocolate, and make it for the bottom tier, which serves the most people.
Then, for the middle tier, go with a slightly richer option like red velvet with cream cheese filling or chocolate with ganache.
Use the top tier to experiment with unique flavors like pistachio rose or citrus-based sponge with chocolate buttercream.
Make sure to pair each cake layer with a filling that complements it. Keep frosting consistent across tiers so the cake looks cohesive, even when flavors change.
Storing & Serving Your Homemade Wedding Cake
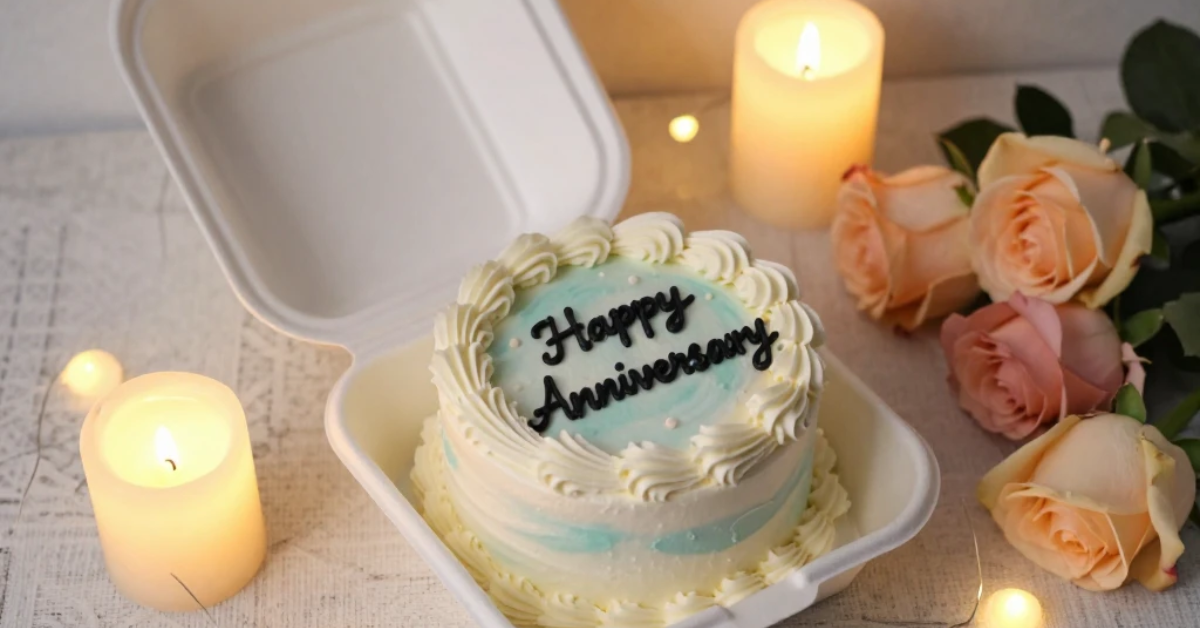
- If your cake has to be served the same day or the next, cover it loosely with a cake dome or clean kitchen towel to prevent it from drying out.
- For the cakes with fillings like cream cheese ganache, store the cake in the fridge, wrap it lightly in plastic wrap, or place it in the cake box to avoid fridge odors. Remove from the fridge about 30 to 60 minutes before serving.
- If you bake layers in advance, wrap them tightly in plastic wrap and then in aluminum foil, and you can freeze them up to 2 months. But thaw overnight in the fridge before assembling and frosting.
- Must use a sharp serrated knife for serving. Make sure to wipe it clean between cuts for neat slices. For tiered cakes, cut from the top tier downwards, serving smaller pieces first.
Your Homemade Wedding Cake Journey Starts Here
I hope you have enjoyed this step-by-step guide to creating a homemade wedding cake. Whether you are baking a simple wedding cake, trying multiple flavors, or creating a luxury design, each of them gives you unforgettable results.
Now it’s your turn to mix, bake, and decorate a cake for your big day. I will meet you in my next blog. Until then, good luck and happy baking.
FAQs
What makes a wedding cake different from a regular cake?
A wedding cake is usually multi-tiered, carefully decorated, and designed to serve many guests, while a regular cake is simpler and smaller.
What is the best cake to use for a wedding cake?
Butter cake or pound cake works best for tiered wedding cakes due to their firm structure and ability to hold layers and decorations.
What is the 1234 cake rule?
The 1234 cake refers to a simple ratio: 1 cup butter, 2 cups sugar, 3 cups flour, 4 eggs. Its a classic guideline for a moist, balanced cake.
What are the ingredients for a homemade wedding cake?
Typical ingredients include flour, sugar, butter, eggs, milk, baking powder, and flavorings like vanilla or cocoa, plus frosting and optional fillings.
What wedding cake flavor is most popular?
Vanilla wedding cake is the most popular, followed closely by chocolate and red velvet.